Add custom CSS or edit template code in Beyond
Use Theme settings → Custom CSS (the whole store) or a section's own Custom CSS field (just that section) for one-off exceptions the settings do not cover. Do not start here for colors, type, spacing, or buttons, those have Theme settings.
Checkout is unchanged, custom CSS does not apply there. Prefer settings over CSS; prefer CSS over editing Liquid.
Before you begin
Modifying theme code in the template editor requires some basic knowledge of CSS, HTML and Liquid so be sure you're comfortable with those areas before attempting any.
Check out Shopify's guide to editing theme code.
Visit W3Schools for a quick CSS tutorial.
Support can point you to the right field, but debugging your own CSS or Liquid is outside what we can help with.
Create a backup
We recommend making your customizations on an unpublished version. Go to Actions → Duplicate first.
Adding CSS to the whole store
Edit theme → Theme settings → Custom CSS → add your code → Save.
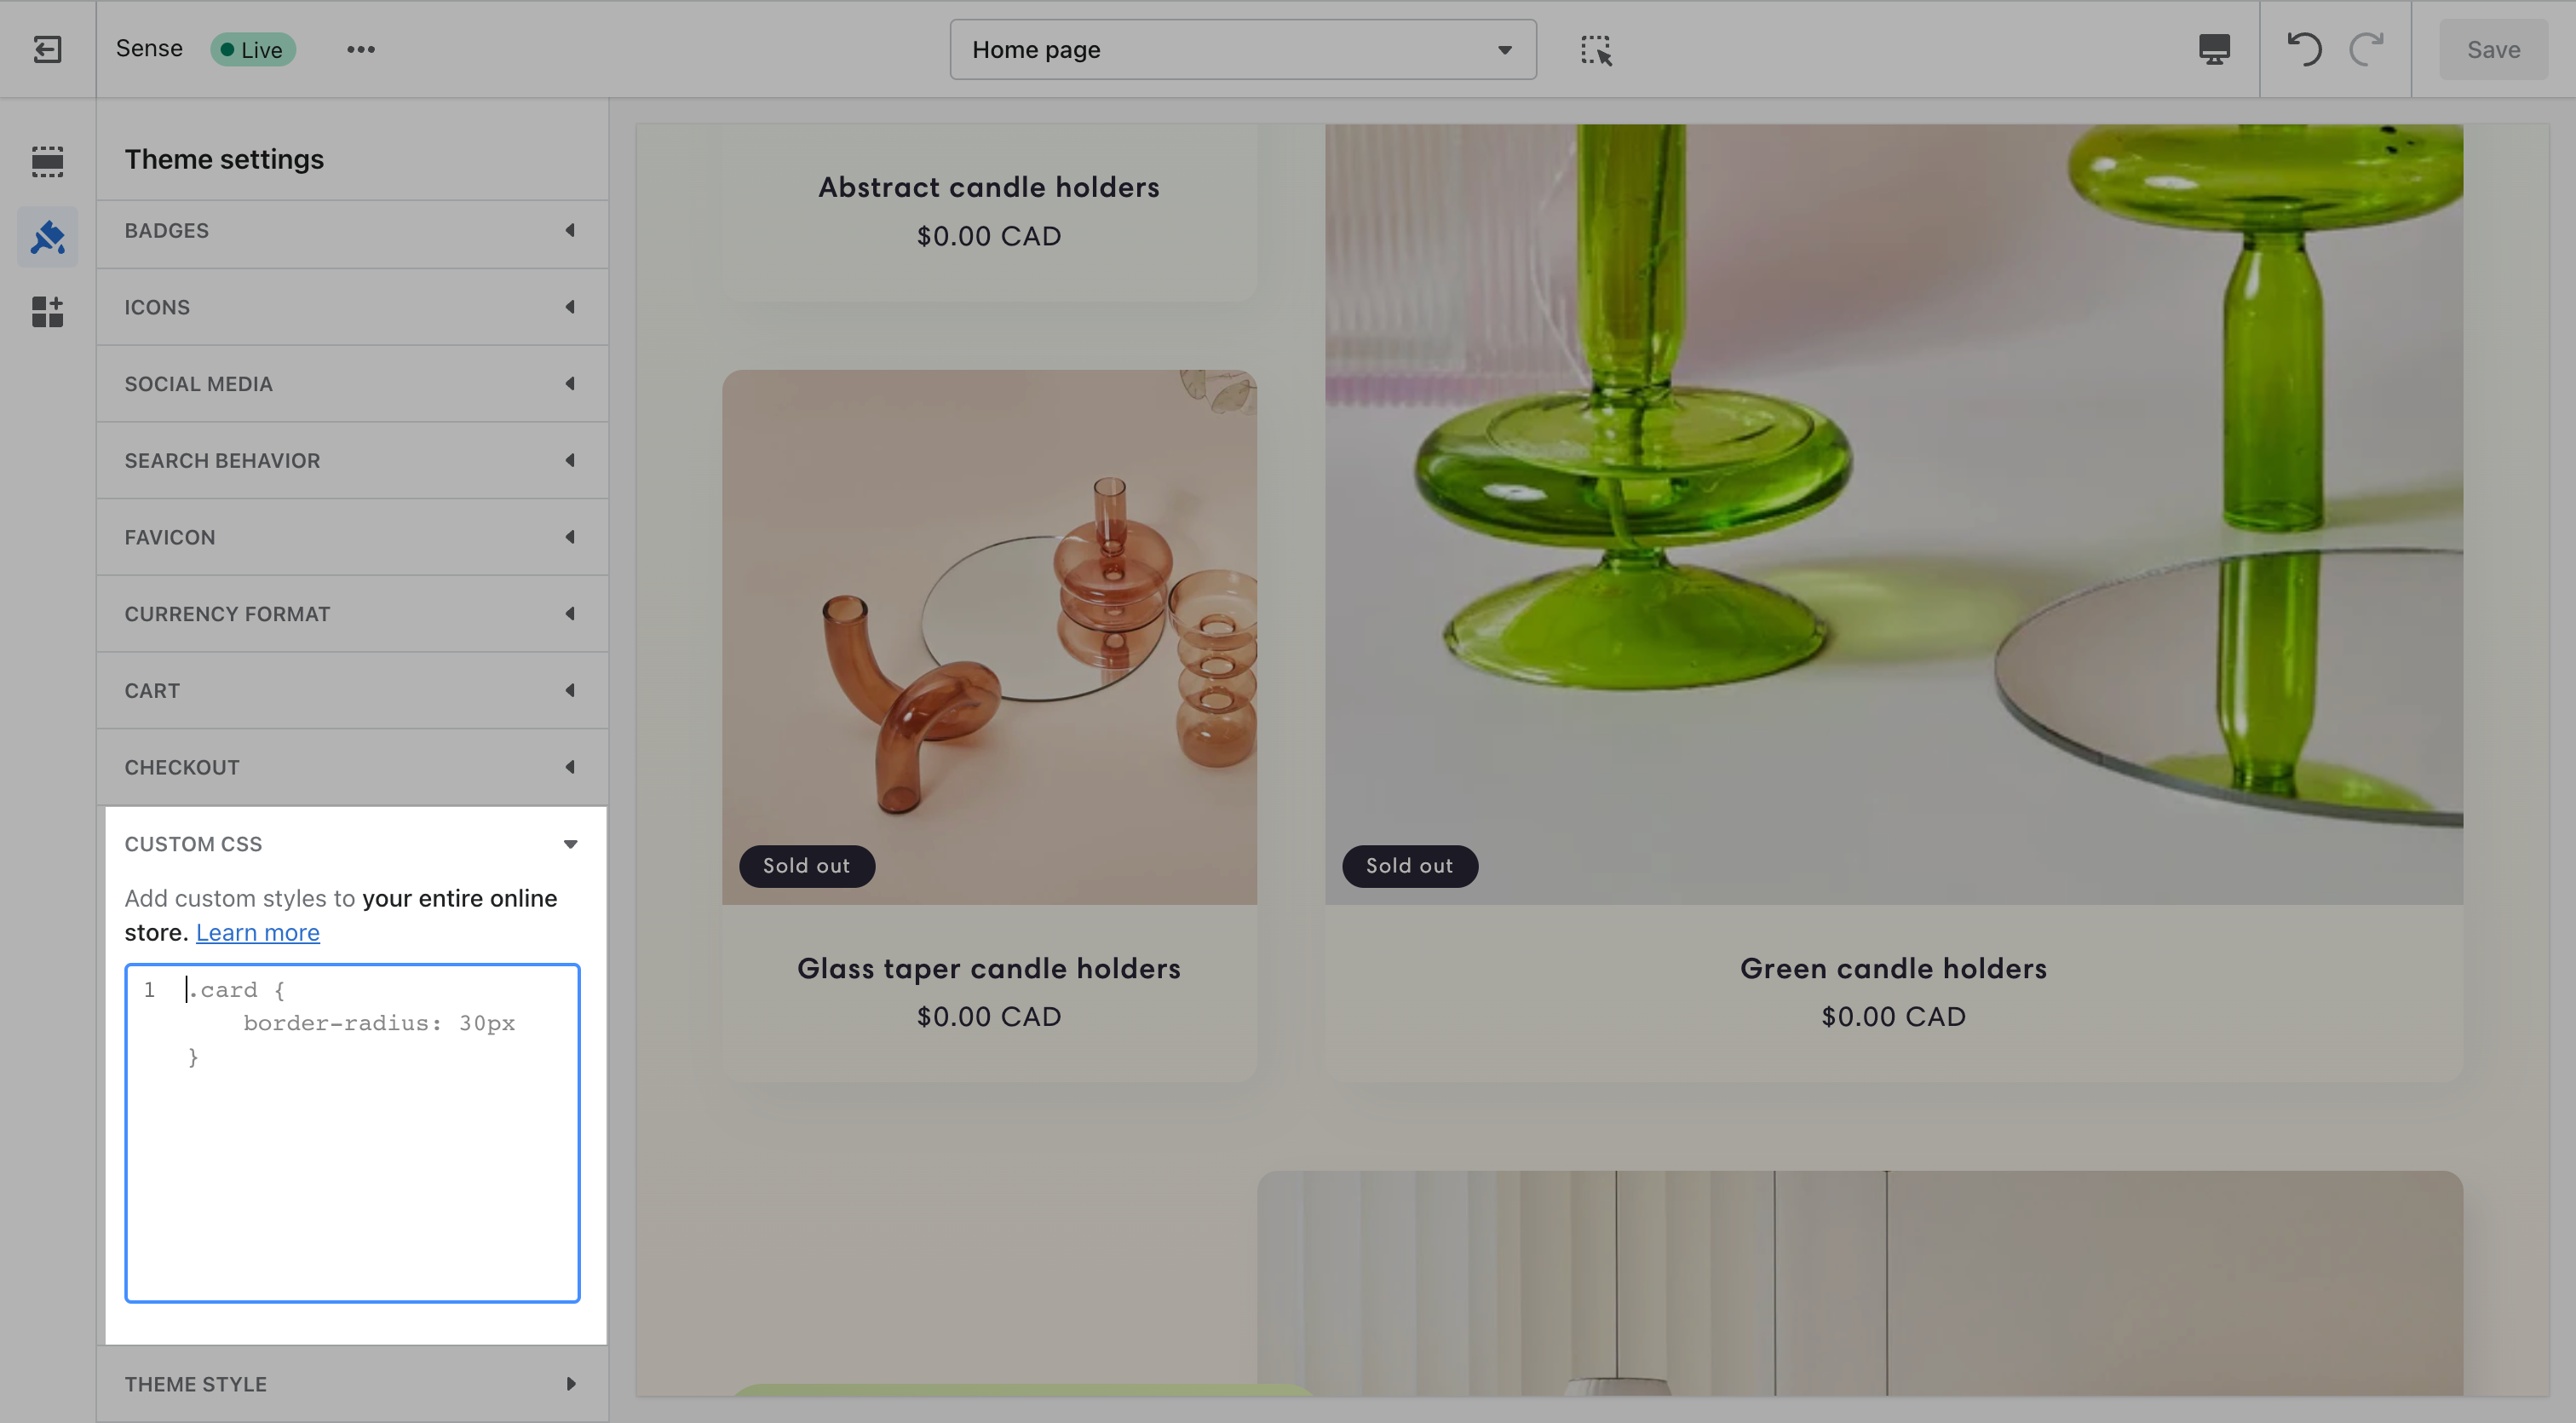
This applies everywhere on the storefront and is capped at 1,500 characters. If a change only needs to apply to one section, add it there instead, see below.
Adding CSS to one section
Select the section → scroll to the bottom of its settings panel → Custom CSS → add your code → Save.
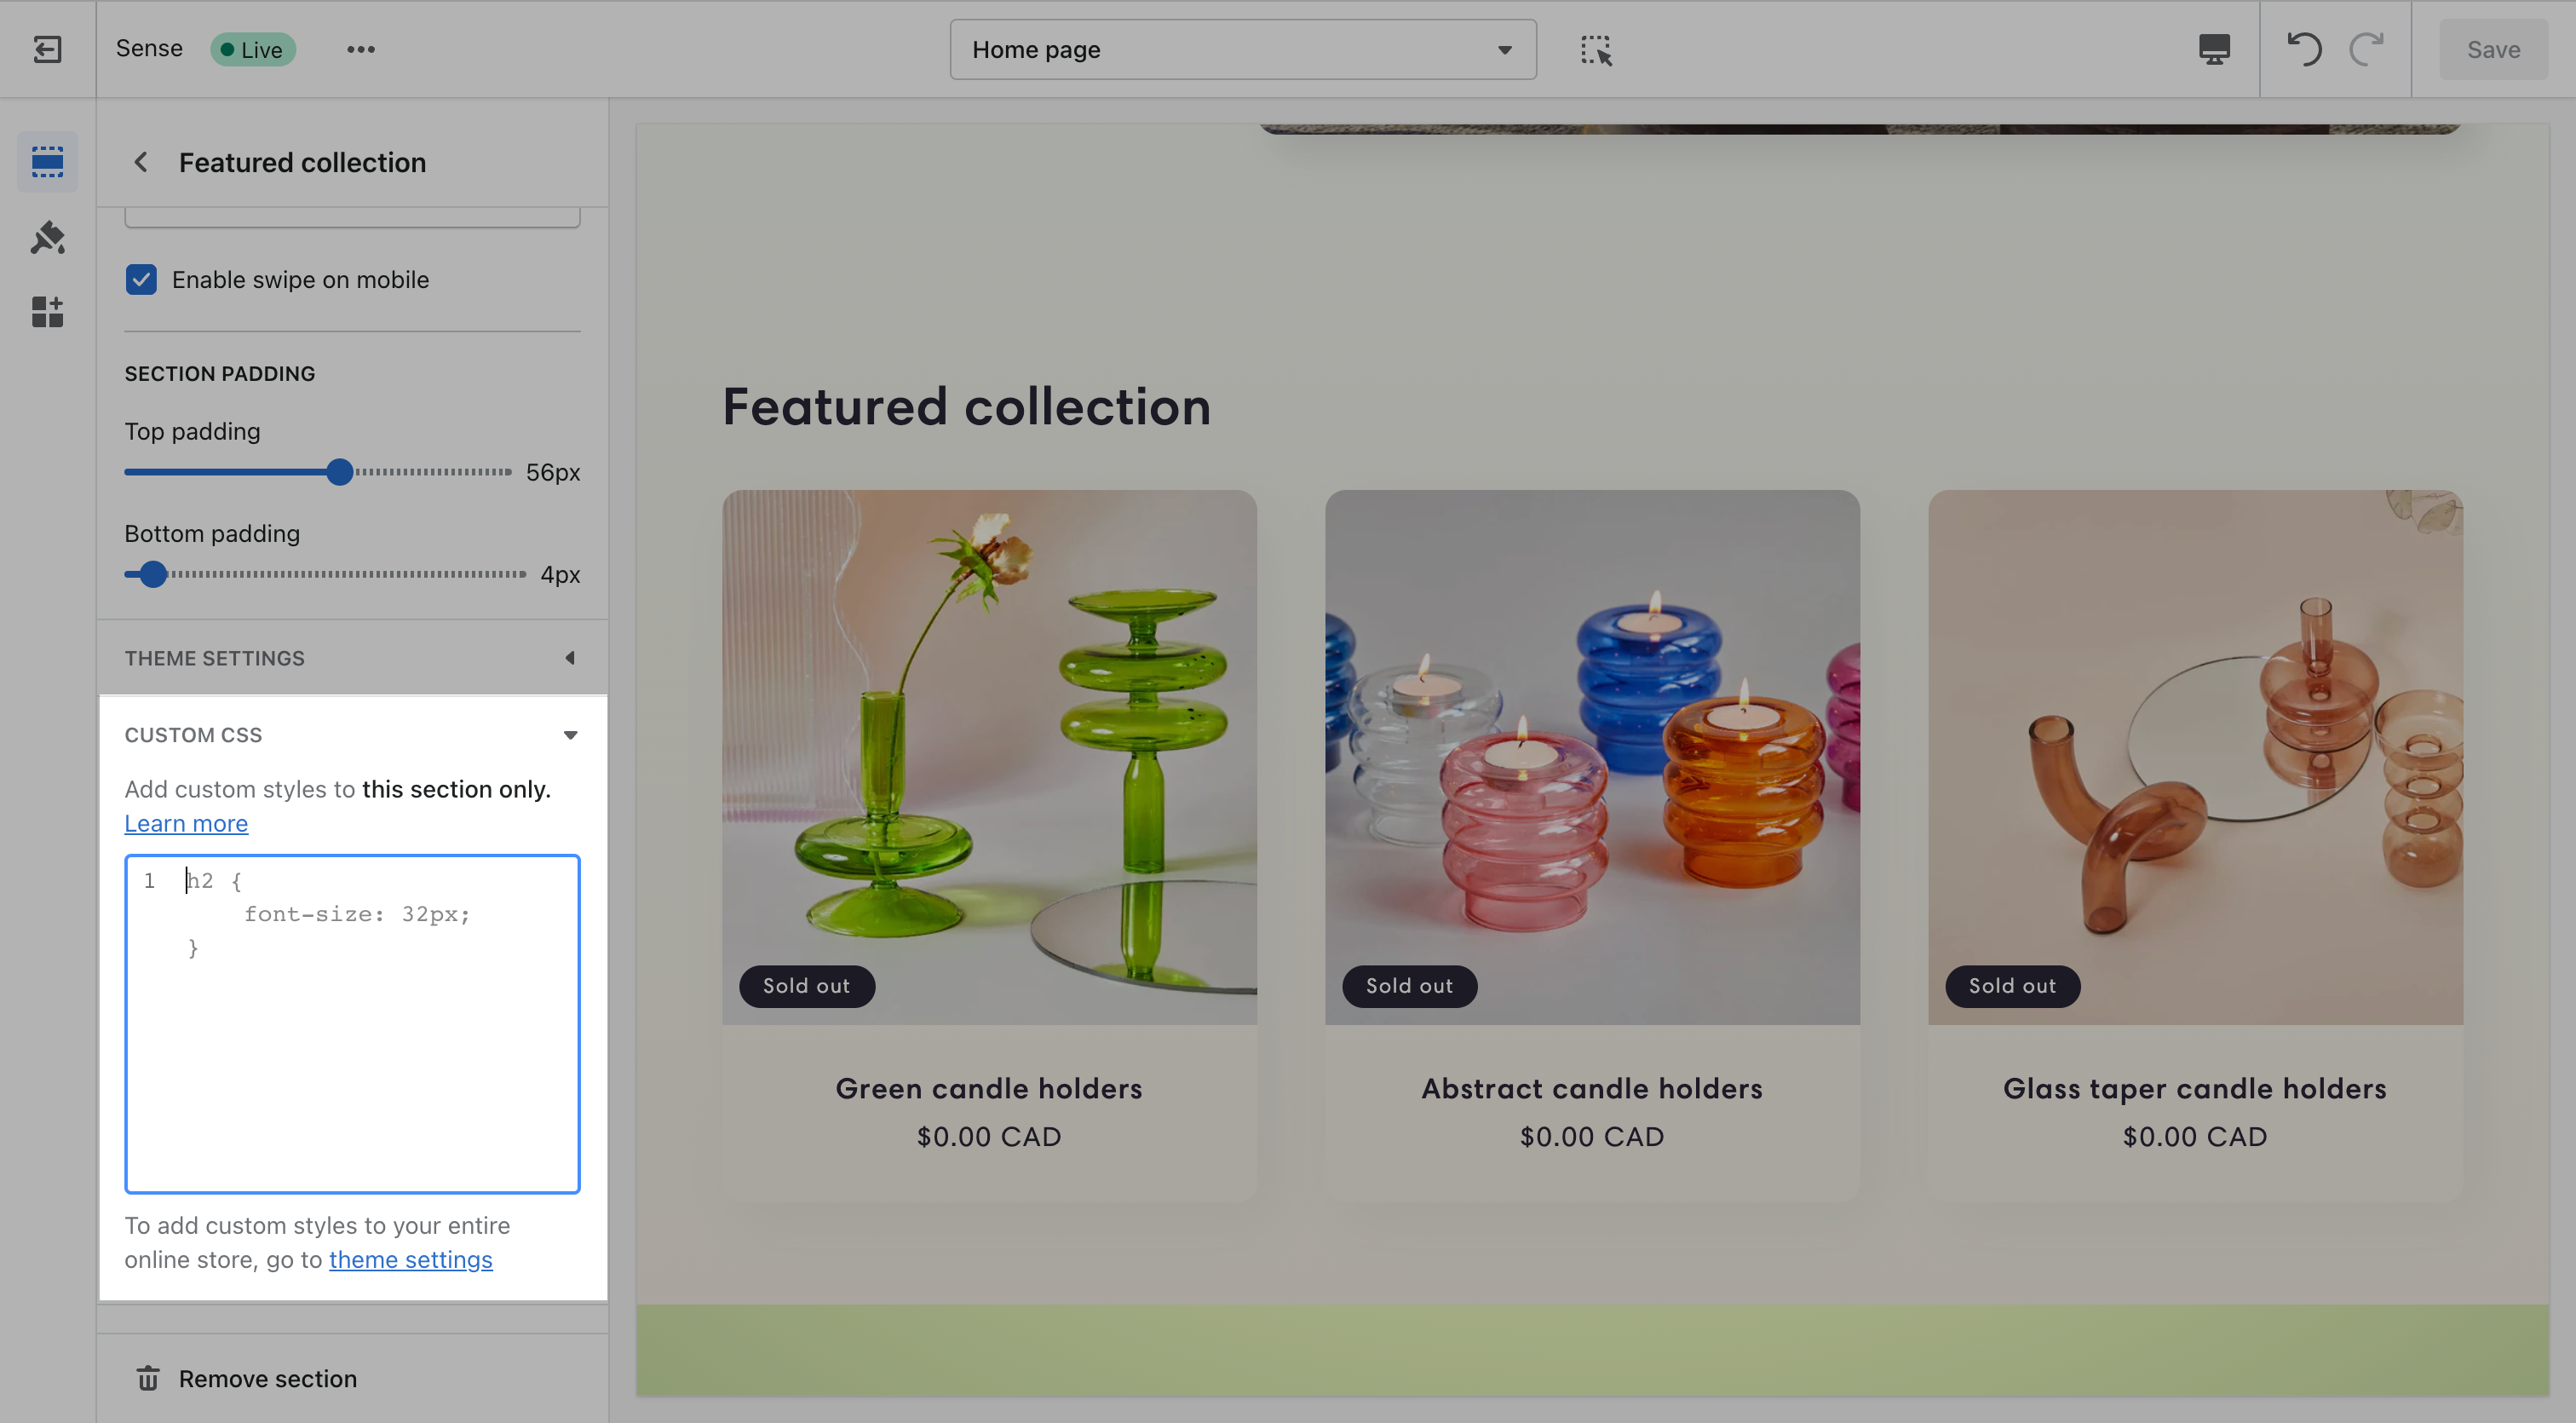
This applies to that section only, and is capped at 500 characters. Only the @media, @container, @layer, and @supports at-rules are allowed here.
What custom CSS can't do
- No
@import,@charset, or@namespace, at either the theme or section level. - No
contentproperty. - Can't target the
shopify-sectionwrapper element. - Any URL you reference has to be on
https://cdn.shopify.com. - Custom CSS overrides your theme's built-in settings, it always wins, so a Theme setting and a Custom CSS rule that disagree will show the CSS.
- Not supported on the checkout page.
- Updating your theme can break selectors your CSS depends on, recheck custom CSS after an update.
Advanced: editing CSS directly in template code
These two options require editing Liquid files in the code editor, not just filling in a settings field. They're for merchants and developers comfortable working in the theme's code.
custom-styles.liquid
Every theme ships an empty custom-styles.liquid snippet in Snippets, rendered as a plain <style> block on every page. It has none of the native Custom CSS field's restrictions, no character limit, @import is fine, you can target anything, so it's the option for larger stylesheets or CSS the Theme settings field won't accept.
The trade-off: it's a theme file, not a setting, so a theme update overwrites it and any CSS you added is lost unless you copy it back in afterward. Custom CSS in Theme settings is stored as theme data and survives updates, that's why it's the default recommendation, custom-styles.liquid is there for merchants who specifically want it.
A section or snippet's own stylesheet
Most sections, blocks, and snippets already carry their own {% stylesheet %} block. This is where that component's CSS actually lives. If you're editing a section or snippet's code directly, its styles are usually right there in that block rather than in a separate file.
A few things to know, from Shopify's stylesheet tag reference: each file can hold only one {% stylesheet %} block, Liquid isn't rendered inside it (no {{ }} or {% %}, plain CSS only), and Shopify combines and subsets these automatically into one stylesheet per page, only pulling in the files actually used on that page, you don't link to them yourself. Same trade-off as custom-styles.liquid: it's part of the theme file, so a theme update overwrites your edits.
Need additional help?
If you're wanting to make more complex customizations, you can consider hiring a Shopify Expert or a third party developer.
Read more about our recommendations for theme tweaks and customizations.
The Shopify Community is also a great resource for advice from other store-owners on a wide range of topics.
Ask Sidekick 
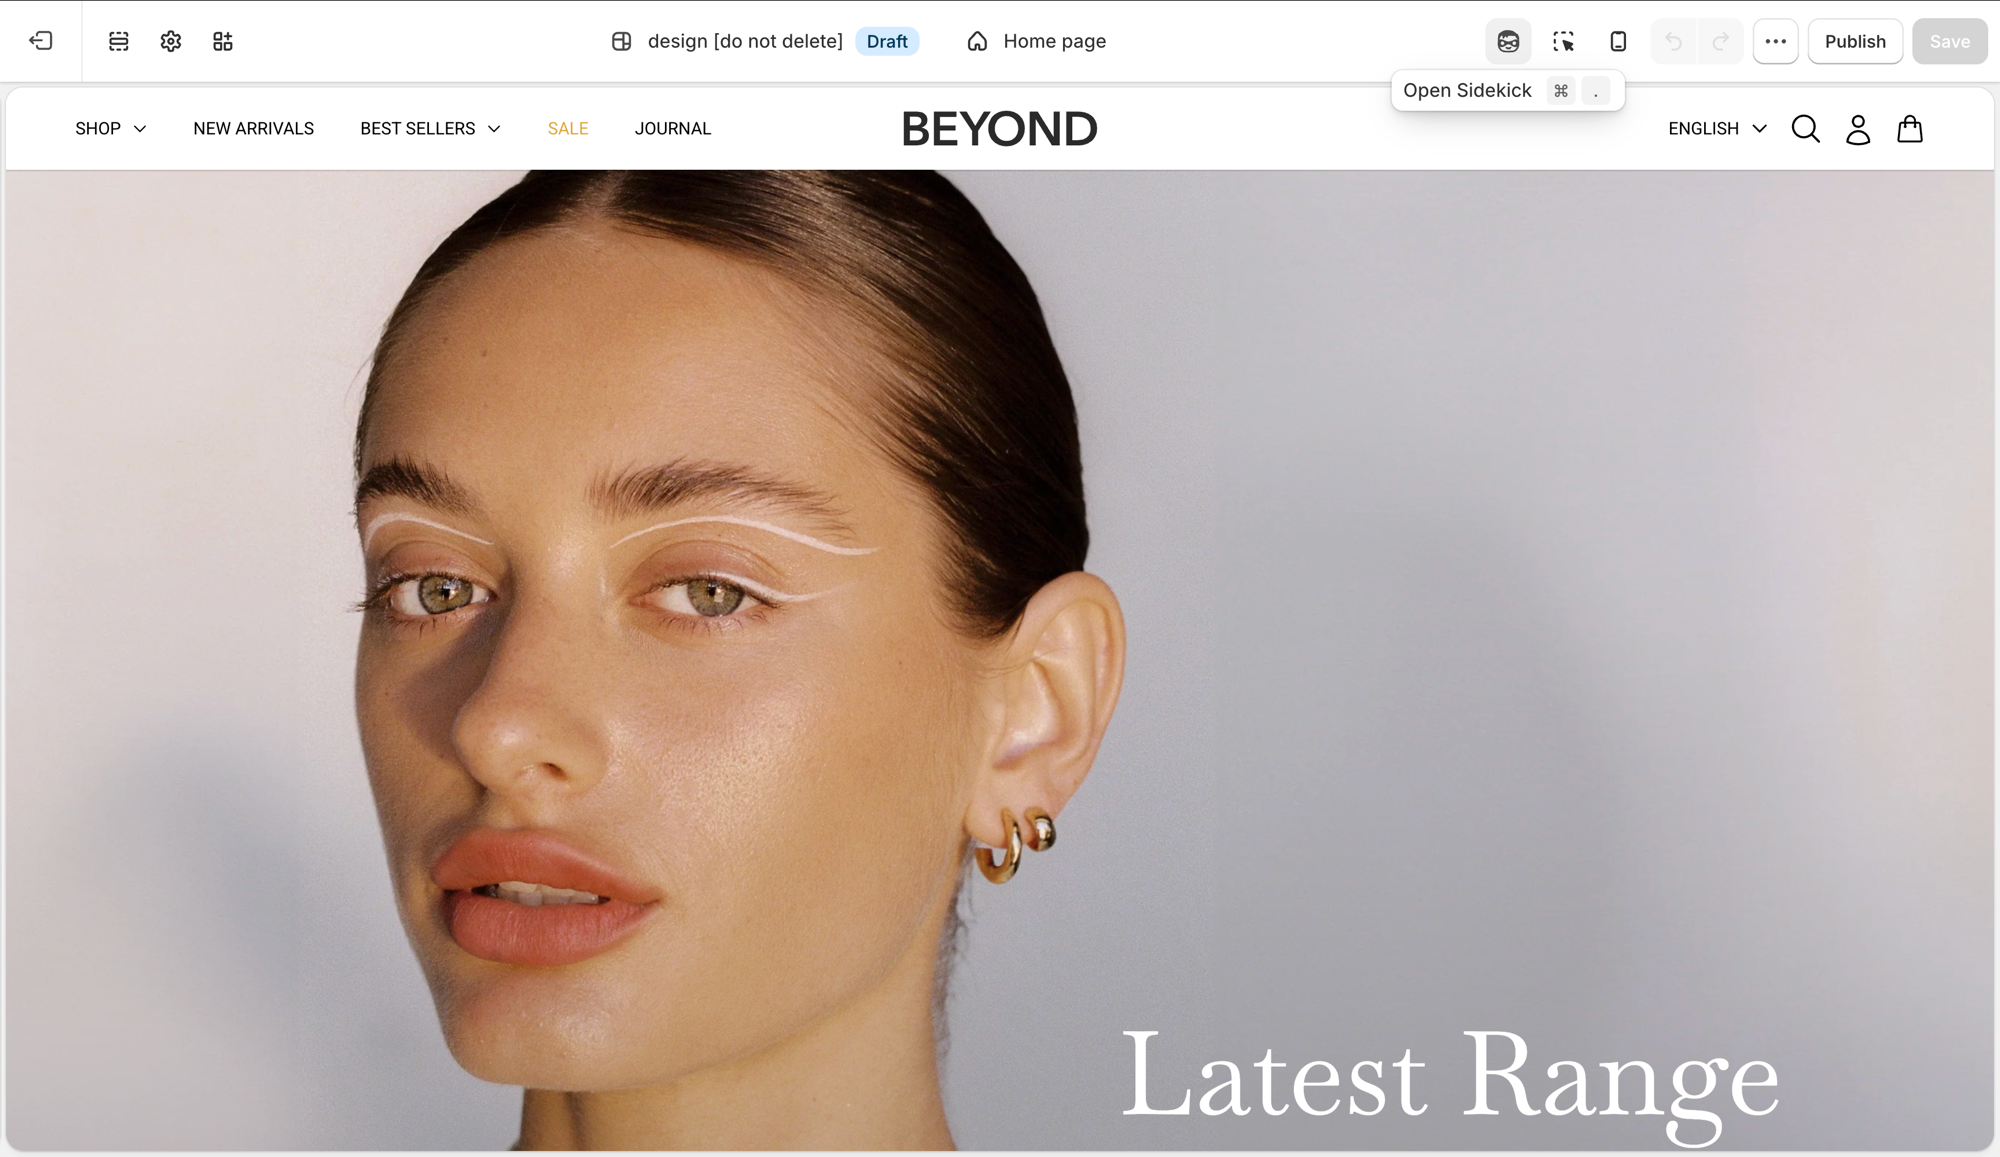
For a one-off block, Shopify's Sidekick can write it for you: Add block → Generate (where available) turns a plain-language description into the Liquid, HTML, and CSS, previewed in the theme editor before you keep it.
"Add a block with a badge icon and a short trust message."
That's often faster than hand-writing a section's {% stylesheet %} block or reaching for Custom CSS, and it doesn't cost you a developer for something small. See Shopify's guide to generating theme blocks for eligibility and limits, Shopify support won't debug what it generates, that's still on you or a developer.
Troubleshooting
- You can do it in Theme settings: use those instead. CSS fights the next update and the next setting change.
- Styles missing after an update: they were in
custom-styles.liquidor a section/snippet's{% stylesheet %}block, which the update overwrites. Move them to Custom CSS in Theme settings if you want them to survive updates. - Custom CSS won't save: you're over the character limit (1,500 theme-wide, 500 per section), or used an at-rule or property that isn't allowed.
- Checkout is unchanged: expected. Checkout is not the theme.
- An app's CSS is winning: disable the app embed; don't override it with more CSS until you know the owner.