Setting up navigation in Beyond
Menus are created in Shopify admin. The theme only displays the menu you assign in the Header, Footer, or a section.
Content → Menus to create items. Assign the menu in Edit theme → Header, Footer, or the section.
Checkout, apps, and collection filters are unchanged.
Info
Visit Shopify's help centre for an extensive guide on setting up menus and links.
Menus can display as a single dropdown or in multi-columns with nested items.
Single dropdown menu
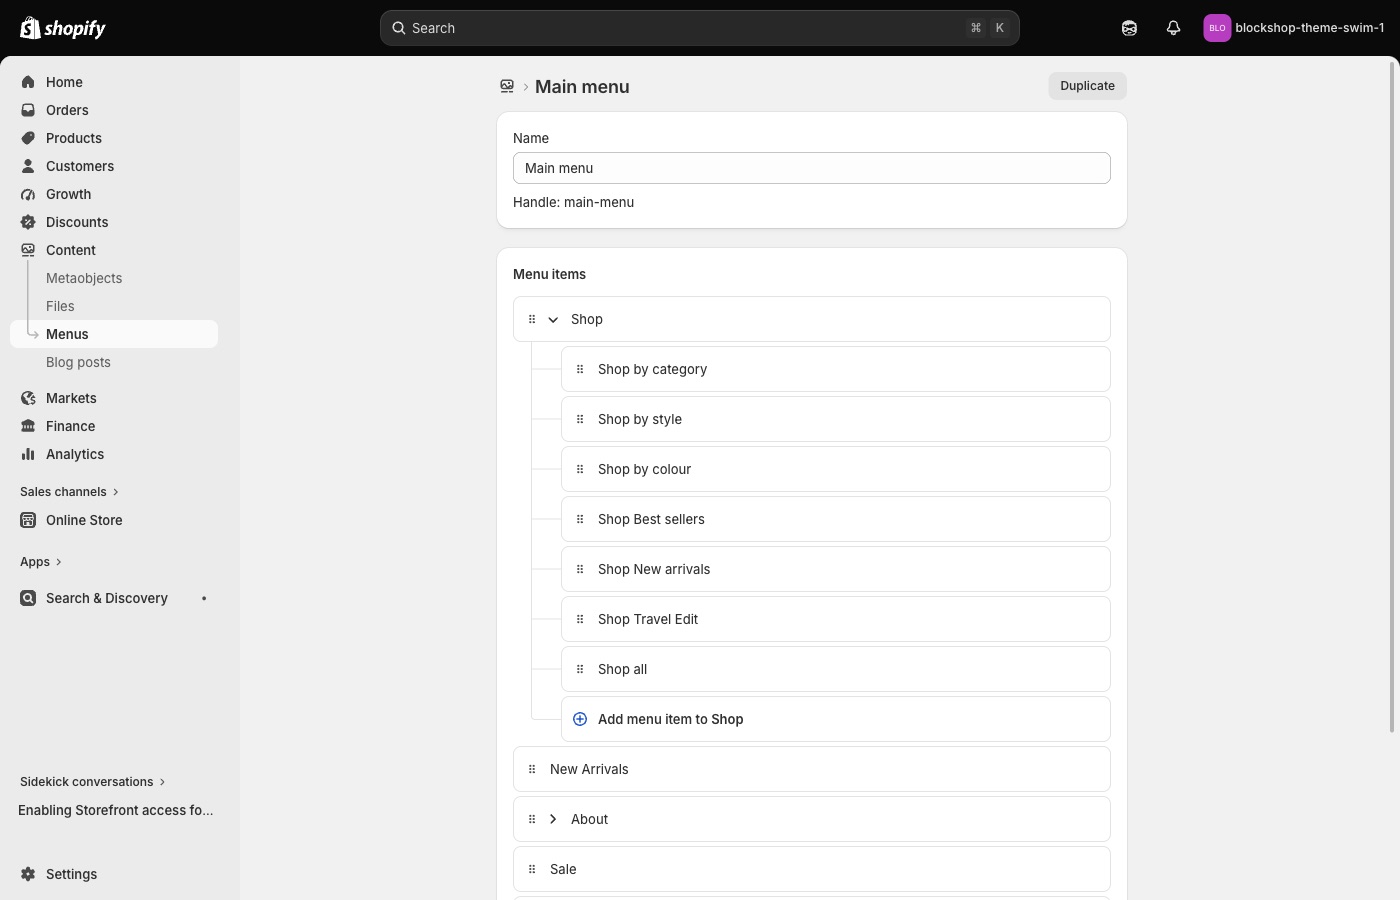
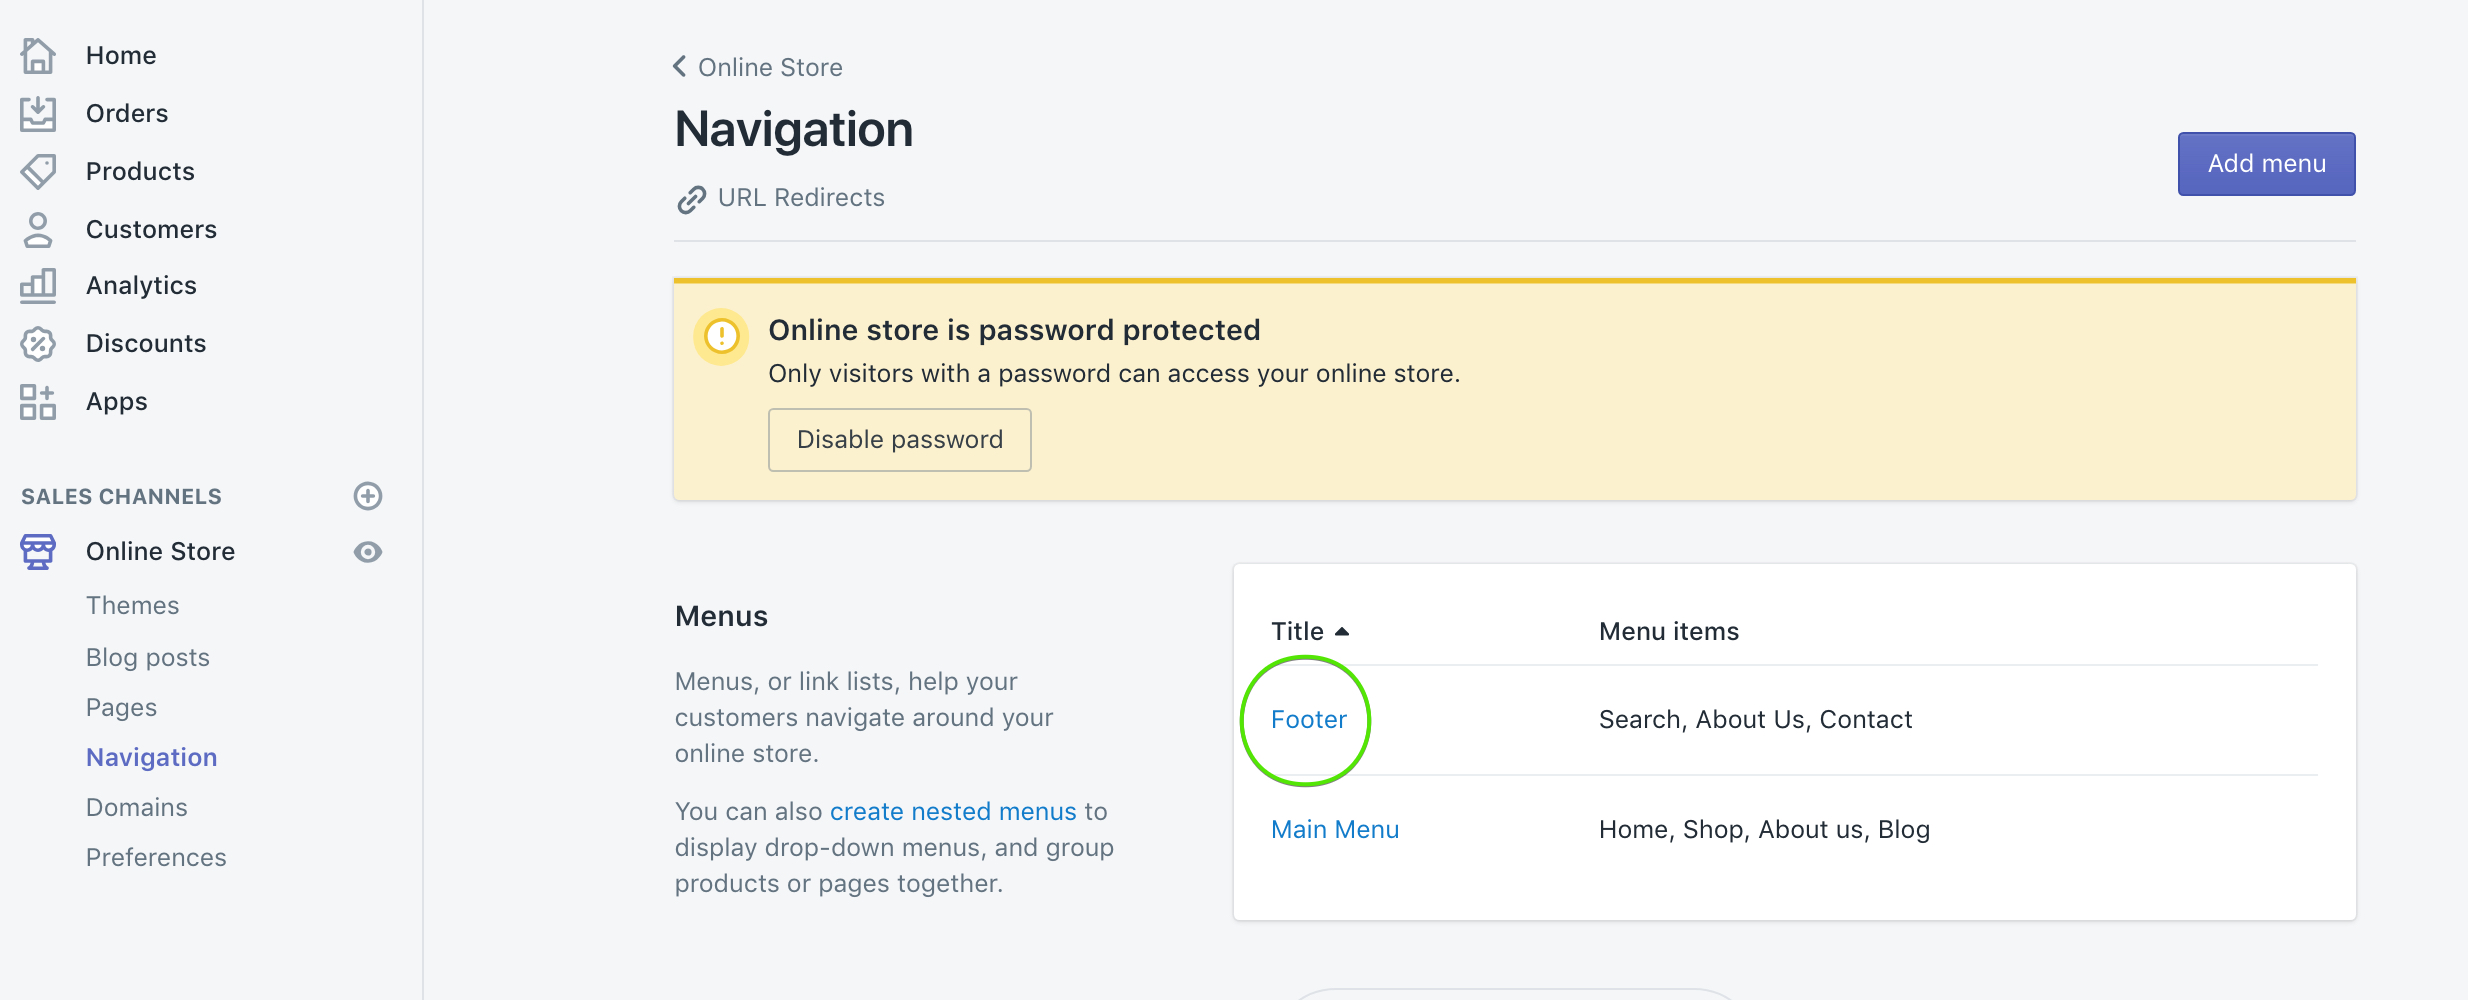
To create a single dropdown menu, click the title of the menu that you would like to add a dropdown menu to. In most cases, this is called Main Menu unless it has been renamed to something else.
Next, you will need to add 'child' items to include in the new drop-down.
Click Add menu item, enter a name of the menu item and select a destination for the link.
Click and drag the menu items to nest below the 'parent' item.
Click Save menu.
Multi-column dropdown menu
You can create multi-column drop-down menus up to three levels deep.
To create third-level menu items, repeat the process for creating a dropdown and nest them below a second-level menu item.
If a second-level menu item has no nested items, it is styled in a separate column (for example New in and Sale).
Creating other menus
All other store menus can be configured in your store admin under Content → Menus.
Once a menu is configured, assign it in Edit theme → Header (or Footer / the section).
Troubleshooting
- You edited Menus and the header didn’t change: the Header section is still assigned a different menu. Open Header and pick the menu you just edited.
- A link 404s: the menu item URL is wrong in Content → Menus, not a theme setting.
- Mega-menu columns look wrong: nesting depth in Content → Menus drives columns. Second-level items with no children become their own column (see New in / Sale above).
Text menu
Text menu is a design section, not the header. It will not change header links. See Brand and story sections.